5 SIMPLE STEPS TO INSTALLING AN ACCESS PANEL
Update:Nov 22,2023
Summary:5 SIMPLE STEPS TO INSTALLING AN ACCESS PANELStep 1: Find the Perfect SpotBegin by strategically selecting the ideal location for your universal access......
5 SIMPLE STEPS TO INSTALLING AN ACCESS PANEL
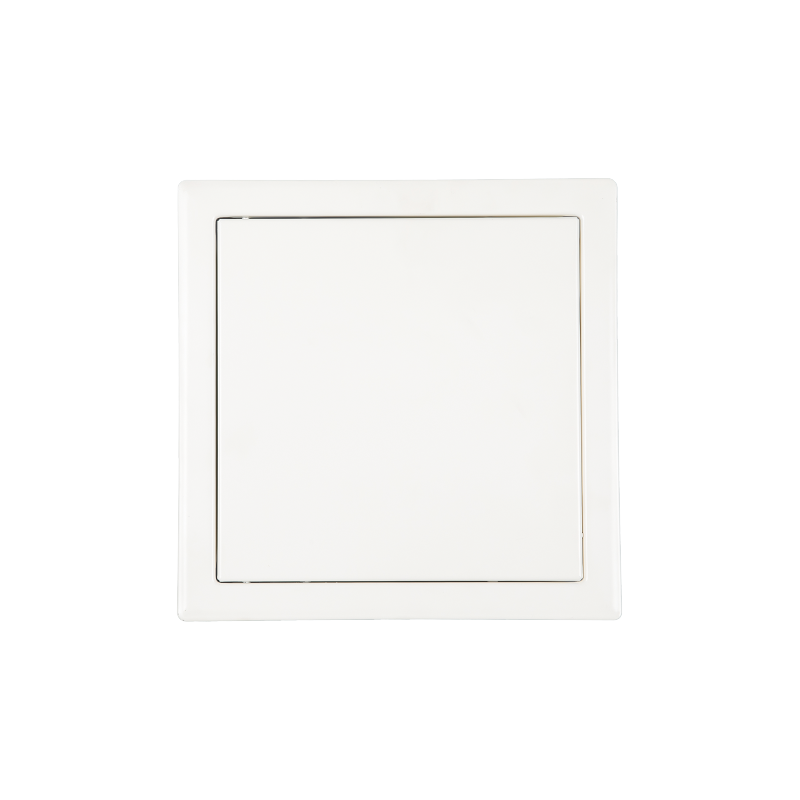
Step 1: Find the Perfect SpotBegin by strategically selecting the ideal location for your universal access door. Consider the adaptable nature of ACCESS PANEL, designed to accommodate various surface types and materials, thus aligning effortlessly with your project's needs.
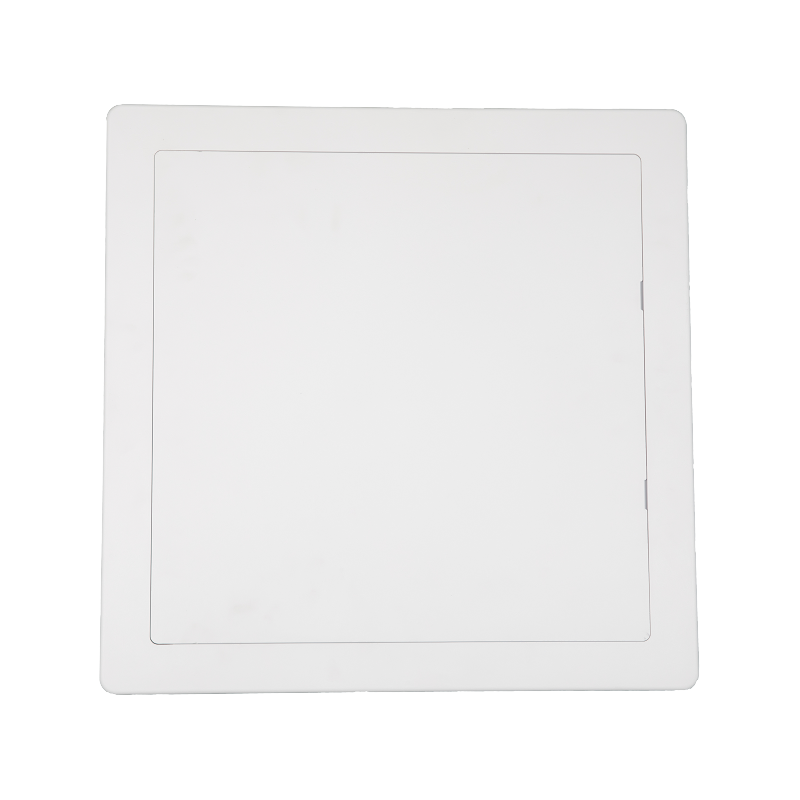
Step 2: Outline the FrameworkHold your access door against the surface and trace the frame's contours onto the wall or ceiling. This marked outline ensures precision, mirroring the meticulous craftsmanship that goes into the PANEL's design.
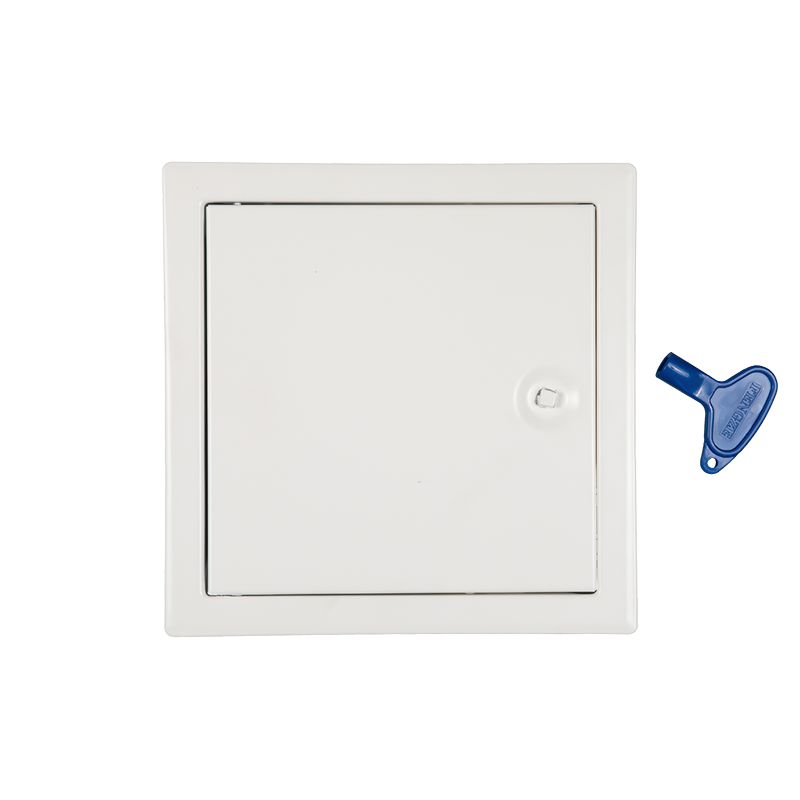
Step 3: Execute the CutCut along the traced lines using a saw, adhering meticulously to the marked outline. Acknowledge the high-quality materials used in the PANEL model, such as the 16-gauge cold rolled steel, ensuring a resilient and reliable access door.
Step 4: Install the FrameInsert the PANEL model's frame into the cut-out, securing it with self-tapping screws. The intelligent design of the PANEL ensures that it fits seamlessly onto various surfaces, streamlining the installation process.
Step 5: Secure the PanelApply adhesive around the frame's surface using a caulking gun. Gently position the access door into the cut-out, guaranteeing even pressure on all sides. Emphasize the durability-enhancing adhesive, mirroring the PANEL's long-lasting construction. As the glue dries, tape the frame for added support. Attach the access door to complete the installation process, appreciating how every detail of the PANEL contributes to the whole.
 English
 简体中文
简体中文